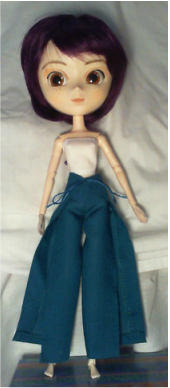
Figuring Eun-jae needed some pants, but not wanting to deal with things like buttons and waistbands, I made some Pullip-sized "nifty wrap pants" for her using Craftgrrl's human-sized tutorial.
They're of a soft thin cotton fabric, with embroidery thread to tie around the waist. The fabric is teal, but looks more blue in the photos. I'm using a webcam for the photos in this post rather than my phone, so the pictures in general will be uglier.
Below the cut is an explanation of how to put the wrap pants on, and the pattern so you can make your own.
(The shirt in these pictures is the undershirt from Eun-jae's very first post.)
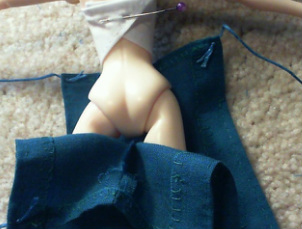
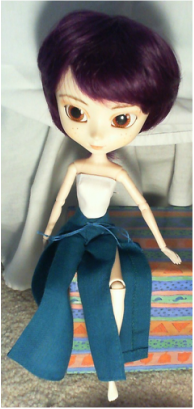
To put the wrap pants on your Pullip, first lay her down on her face so that one half of the pants is around each leg. Tie the embroidery threads on the front panel together on her back. Make sure it's a proper bow!
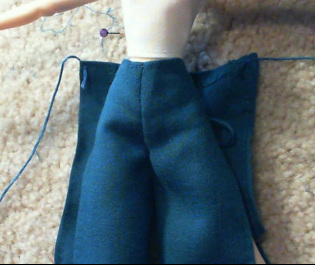
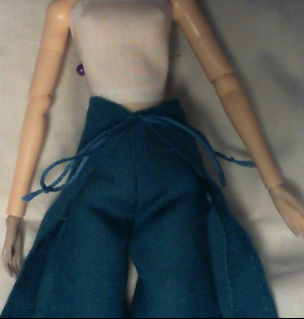
Flip her over, grab the threads on the back panel, and tie them together on her stomach. Done!
If you prefer a visible bow on the back rather than the front, tie the back panel on first instead.
Flip her over, grab the threads on the back panel, and tie them together on her stomach. Done!
If you prefer a visible bow on the back rather than the front, tie the back panel on first instead.
| 
|
| 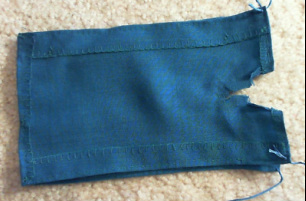
The trousers, unfolded. |
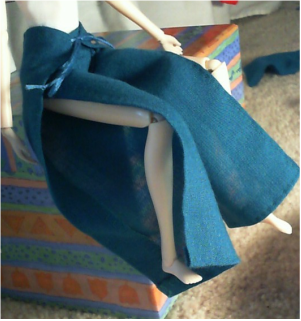
The slit goes up pretty far when Eun-jae's seated... but I don't think her modesty (such as it is) is actually endangered. The wrap-pants tutorial suggested buttons on the sides if you were nervous about the slits. Shorts underneath work too.
| 
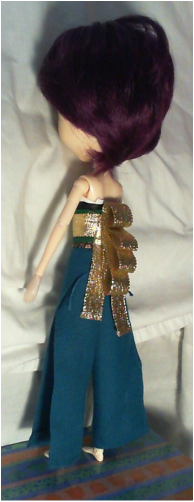
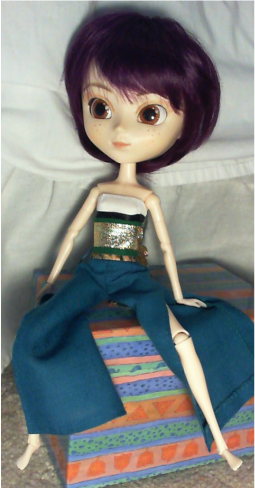
The wrap pants and undershirt look surprisingly okay with the fancy obi from the Pullip furisode! |
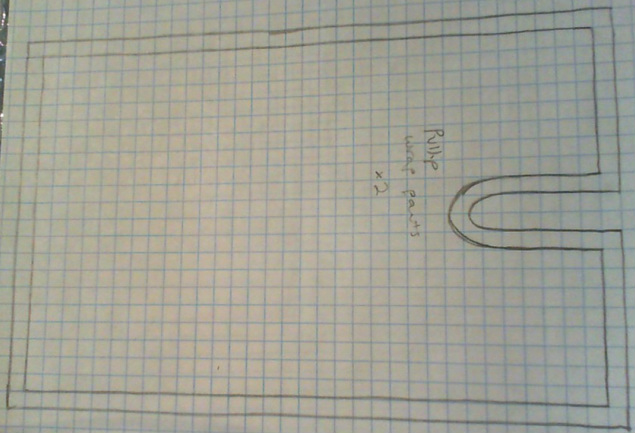
And finally, the pattern. Copy it onto 1/5" graph paper and cut two from some kind of thin flowing fabric. (Although my wrap pants aren't quite symmetrical back and front, this pattern should be.) (Don't ask me why the graph paper designers chose 1/5". Why not half a centimeter? If you do have 1/2 cm graph paper, that'll probably work fine too.)
Go around the edges with a blanket stitch or Fray Check. I've never owned any form of Fray Check (probably should...), so blanket stitch it was. (If you follow the pattern below, you'll end up with 1/5" seam allowance and 1/5" hem allowance, much less than I used. Feel free to change it.)
Sew the crotch (curved bit) together, clip the curve, hem all other edges, and tie embroidery floss or ribbon to the corners as shown in Craftgrrl's tutorial.
 RSS Feed
